










-50x50.png "ClearWhite GlassRestore Pro | Polish Cermin Kereta | Car Glass Polish Watermark and Water Spot Remover | Polish Cermin Hadapan | Kesan Wiper")


-(1)-50x50.png "EziSac Lizard Repellent - Fast Acting Effective Natural Long-Lasting No Mess No Sticky Formula to Halau Cicak")

Washing Machine Cleaning That Stops Musty Smells
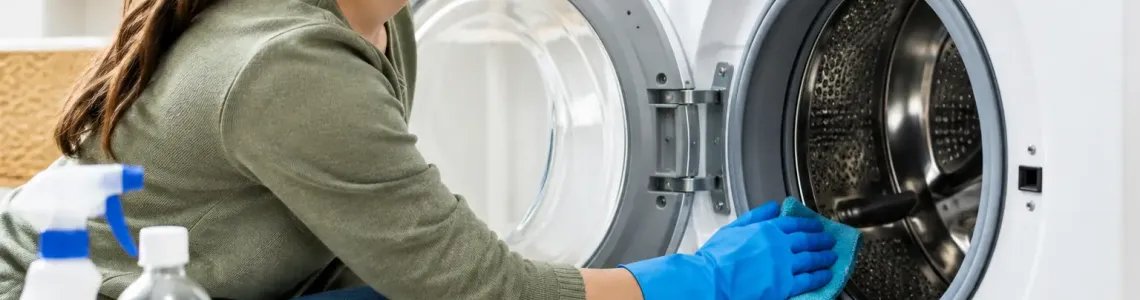
That sour smell on freshly washed towels is not always a laundry problem. It is often a washer problem. Washing machine cleaning removes the hidden mix of detergent residue, fabric softener, body oils, mineral deposits, and trapped lint that can build up where you cannot see it.
A clean washer helps clothes smell fresher, rinse better, and stay free from gray residue. It can also reduce mold growth around seals and improve drainage. You do not need specialist tools, but you do need the right routine - and you should not wait until every load comes out smelling musty.
Why washing machines get dirty while cleaning clothes
Every wash cycle leaves behind a little residue. Liquid detergent and fabric softener are designed to cling to fabric, so using more than needed can leave a sticky film inside the drum, dispenser, hoses, and drain area. High-efficiency machines are especially prone to buildup because they use less water.
Moisture makes the problem worse. When the door stays shut after a load, the warm, damp interior becomes a comfortable place for mildew and odor-causing bacteria. Front-load washers commonly collect grime inside the rubber door seal, while top-load models can develop residue beneath the rim and agitator.
Hard water adds another layer. Minerals can form scale on internal surfaces, making detergent less effective and giving grime more places to stick. If your machine has a stale odor, visible black spots, slimy dispenser compartments, poor drainage, or clothes that do not smell clean, it is time to act.
Washing machine cleaning: a simple monthly routine
For most homes, clean the washing machine once a month. Increase that to every two to three weeks if you wash heavily soiled workwear, pet bedding, sports clothes, cloth diapers, or frequent loads of towels. The goal is not to scrub your washer after every use. It is to stop a small buildup from turning into a stubborn odor problem.
Before starting, check your machine manual. Some manufacturers recommend a specific tub-clean setting or cleaning product. Following those instructions protects your warranty and prevents damage to rubber seals, coatings, and sensors.
Step 1: Empty the washer and inspect problem areas
Run your hand around the inside of the drum and check for lint, hair, small objects, or residue. In a front-load washer, pull back the folds of the rubber gasket carefully. This area often holds hair, detergent slime, coins, and trapped water.
Wipe the gasket with a soft cloth dampened with warm water and a suitable cleaner. Use an old soft toothbrush only for stubborn grime in creases. Avoid sharp tools that can tear the seal. On a top-load washer, wipe under the lid, around the rim, and around the detergent inlet where splashes can dry into a crust.
Step 2: Clean the detergent and softener dispenser
A dispenser drawer can look clean from the outside while hiding sticky buildup underneath. Remove it if your model allows, then rinse it under warm water. Clean each compartment with a soft brush, paying attention to narrow channels and siphon caps.
Wipe the drawer housing too. If the drawer is clean but the housing is coated in residue, fresh detergent will keep flowing through old grime. Let the drawer dry before reinstalling it.
Step 3: Run a hot cleaning cycle
Use your washer's dedicated tub-clean cycle if it has one. If not, run the hottest and longest empty cycle available. Add a washing machine cleaner made for your appliance type, using the amount stated on the label.
A purpose-made cleaner is the practical choice because it is formulated to break down detergent film, oils, and odor-causing residue without asking you to guess at ratios. It is especially useful for high-efficiency machines, where excess foam or harsh household mixtures can create another problem.
Some households use vinegar or chlorine bleach, but these are not interchangeable. Never mix bleach with vinegar, ammonia, acids, or other cleaners. That can release dangerous fumes. Bleach can disinfect certain surfaces when used correctly, but repeated use may not suit every machine component. Vinegar may help with light mineral residue, yet it is not a cure-all for thick detergent sludge or deep mildew. When in doubt, use a washer cleaner approved by the appliance manufacturer.
Step 4: Wipe, rinse, and dry the interior
When the cycle ends, wipe the drum, seal, door glass, and lid with a clean microfiber cloth. If the interior still smells sour, run an additional rinse or cleaning cycle rather than masking the odor with more detergent.
Leave the door or lid open for several hours. Keep the dispenser drawer slightly open as well. Airflow is one of the cheapest and most effective ways to prevent the damp environment that mildew needs.
Do not forget the filter and drain area
Many front-load washing machines have a drain pump filter behind a small access panel near the bottom front of the machine. This filter can trap lint, hair, buttons, pet fur, and small objects. A blocked filter may cause weak drainage, leaks, error codes, or a lingering foul smell.
Check the manual before opening it. Place a shallow tray and towels beneath the panel because water may spill out. Remove debris, rinse the filter, wipe the compartment, then reinstall it securely. If you have a top-load model without an accessible filter, focus on the drum, rim, dispenser, and drain performance instead.
If your washer still drains slowly after cleaning the accessible filter, stop using aggressive chemical drain products. The issue could be a blocked hose, pump fault, or plumbing problem that needs a technician.
Habits that keep your washer cleaner between deep cleans
Most washer odors are prevented by small changes in the laundry routine. First, measure detergent instead of pouring by habit. More soap does not mean cleaner clothes. It means more residue for your machine to hold onto. Use a low-sudsing detergent where required and adjust the dose for load size, water hardness, and soil level.
Second, remove wet laundry promptly. Even an hour or two in a closed, wet drum can create a stale smell, especially in warm or humid conditions. If a load has been forgotten overnight, rewash it rather than drying in the odor.
Third, use fabric softener sparingly. It can leave a waxy coating on fabric and internal surfaces. If towels have lost absorbency or smell musty soon after washing, reduce softener use and give both the towels and the machine a proper clean.
Finally, wipe the door seal once a week and leave the door ajar after every wash. This small habit matters more than expensive fragrance boosters. Freshness comes from removing residue and moisture, not covering them up.
When a cleaning cycle is not enough
A cleaning cycle solves ordinary buildup, but it cannot fix every washer issue. Call for service if you notice repeated leaks, burning smells, loud grinding, standing water after a cycle, persistent error codes, or mold that returns quickly after careful cleaning.
Black staining that is deeply embedded behind a damaged gasket may require replacement rather than more scrubbing. Likewise, clothes that come out with oily marks may point to a mechanical issue, not simply a dirty drum. Being realistic saves money: use cleaning products for buildup, and use a qualified repair professional for faults.
A cleaner washer makes every product work harder
Your detergent, stain remover, and laundry sanitizer cannot perform at their best inside a machine coated with old residue. A monthly washer clean protects the effort you put into every load - from school uniforms and bedding to pet blankets and workout gear.
Keep a dedicated washer cleaner and a microfiber cloth near your laundry supplies so the routine is easy to repeat. Starmeg shoppers who tackle cleaning as a regular maintenance job, not an emergency response, get the result that matters most: clothes that come out clean, fresh, and ready to use.
Related Products
